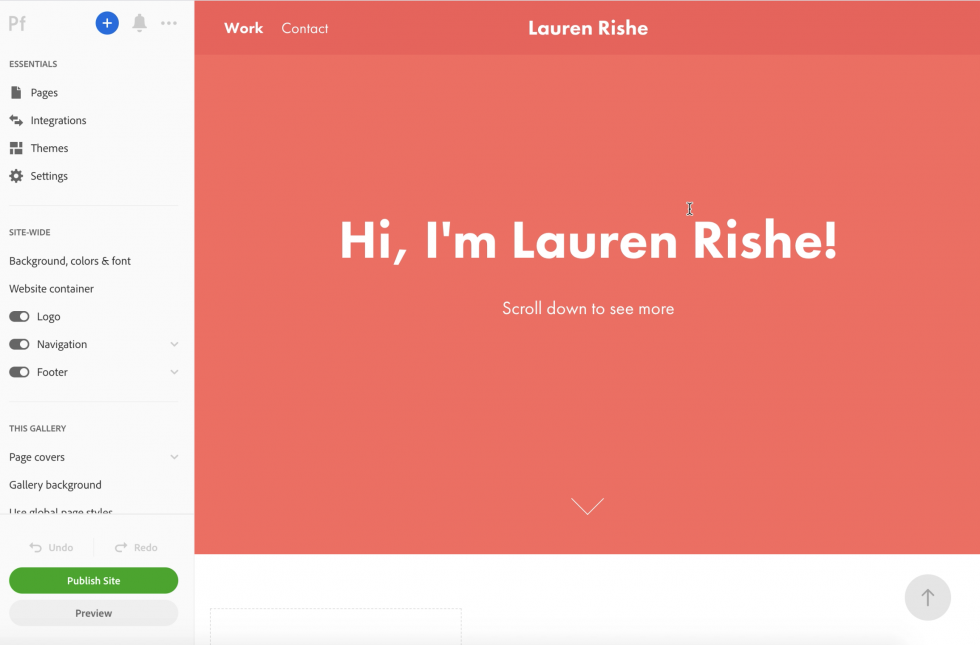
This tutorial will walk through adding pages to a Gallery in your portfolio.
When starting your eportfolio, you will want to start with a Gallery of Work so that your site will have traditional navigation. The Welcome Page option does not allow for navigation.
Once you have started your eportfolio with a Gallery of work, your site will, by default have one Gallery and one Contact Page.

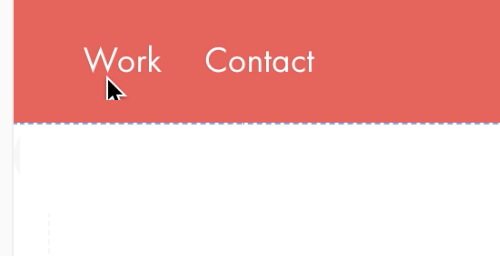
The Gallery’s default title is “Work,” reflected in the navigation at the top of the site. How to alter that is covered in the Content Management tutorial.
The default appearance of a Gallery in Portfolio can vary depending on the Theme you select. Galleries are groupings of pages and with the theme we selected, each will have a large Masthead. The page covers, which link to each subpage, will be below.
Each gallery – the default one and any others that are created – will start with the same default Masthead text.
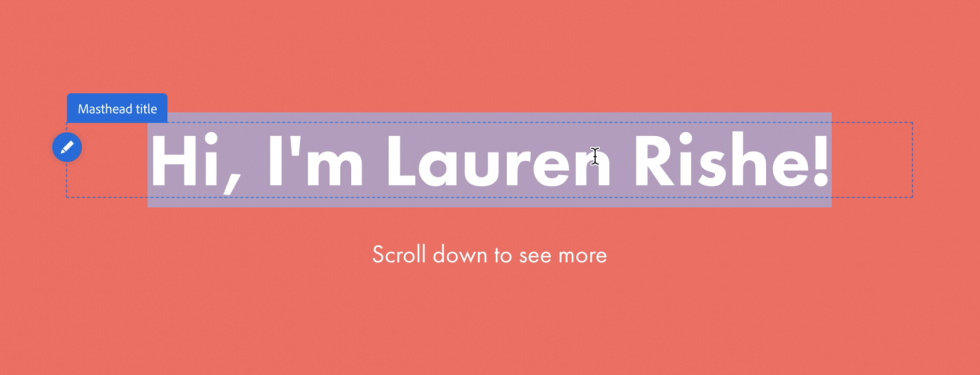
To modify this text, you can simply click into it, delete it, and type in what you’d like it to say.

You can then start adding pages to your gallery below the Masthead.
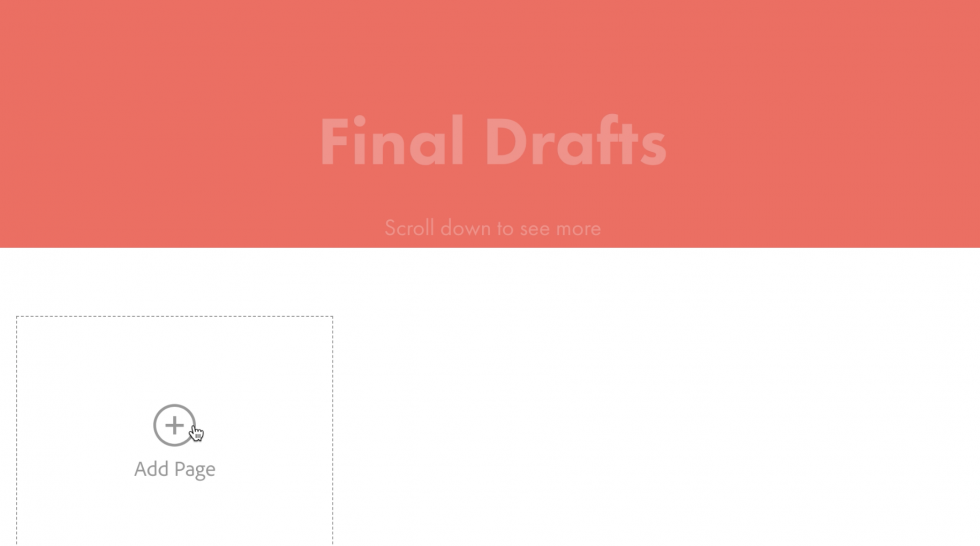
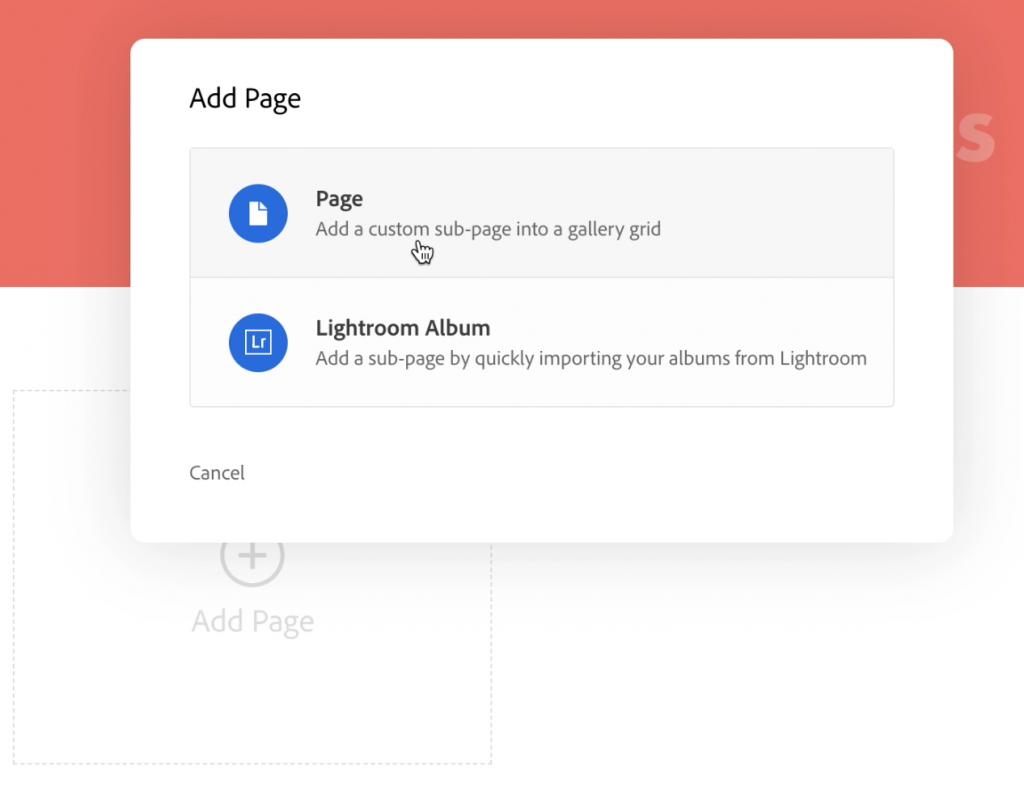
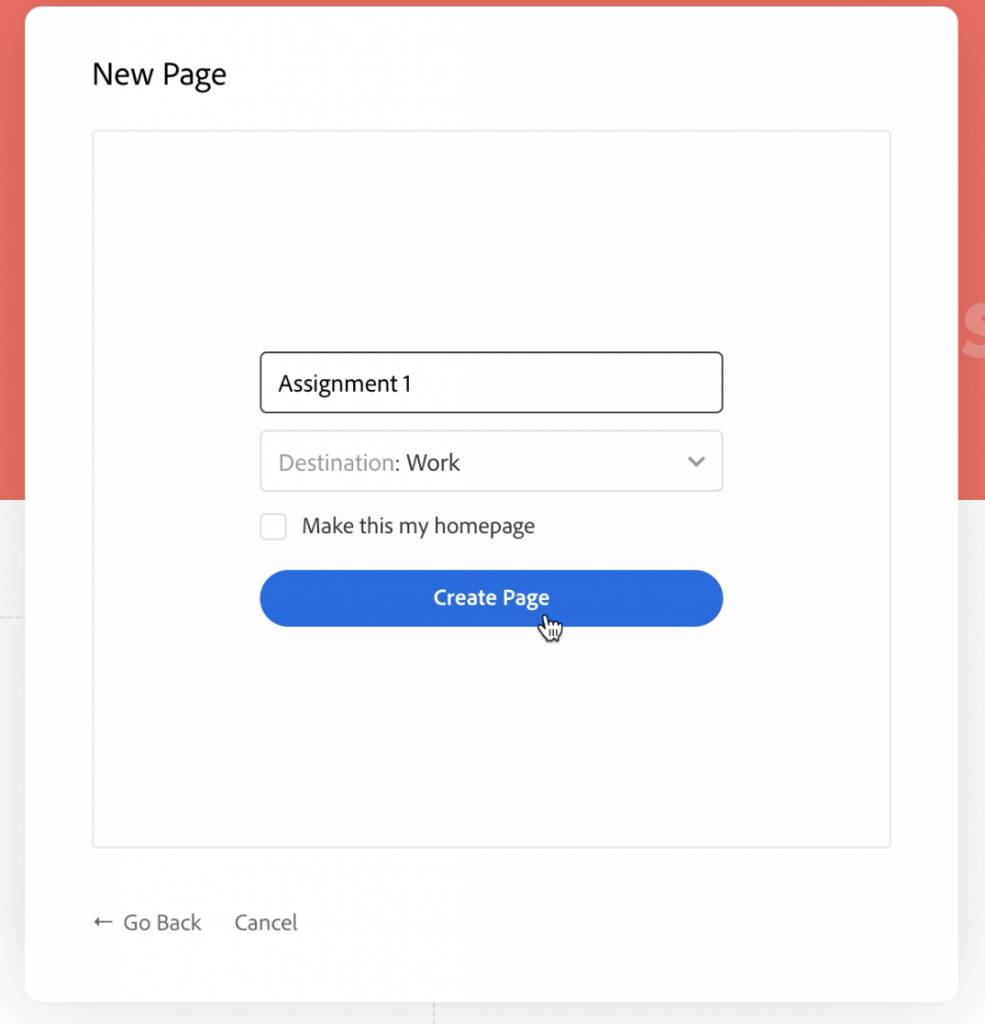
Your page will be created and the page title will display at the top of the page.
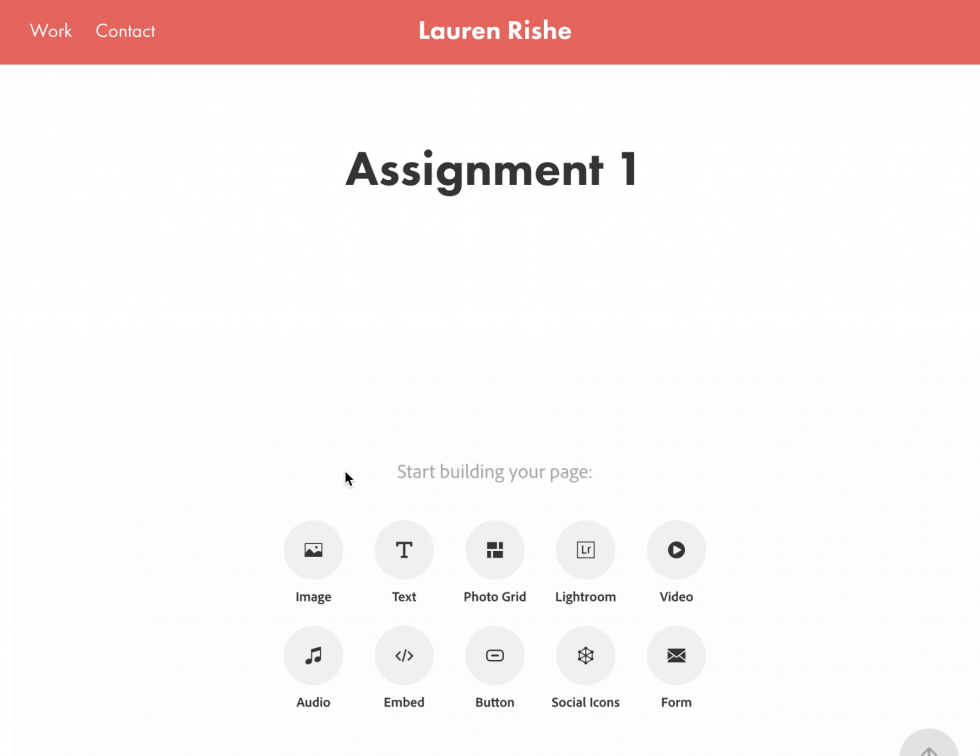
NOTE: Page titles can be modified in the Content Management panel.
You will be able to begin to add different elements to your page such as photos and text using the buttons at the bottom of the screen. Please see our Adding Page Content tutorial for details on adding different elements to a page.
If you have added at least one photo to the page, the first photo uploaded to the page will be used as the page’s cover image.
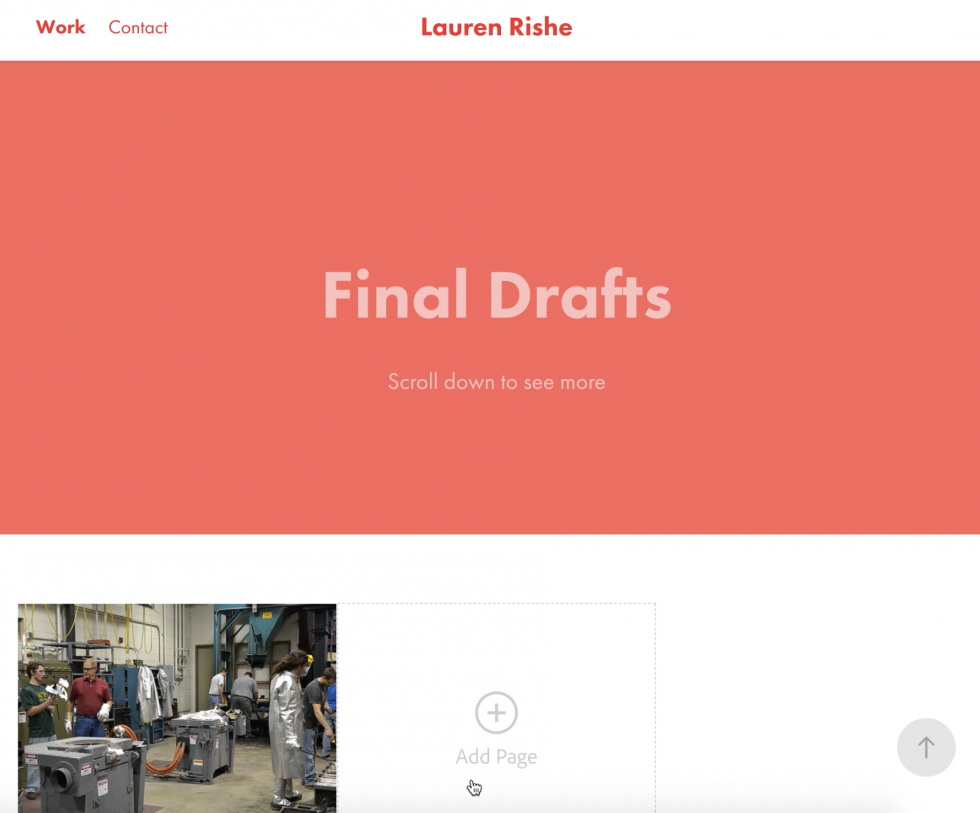
As you add additional pages, the new pages will be first in the row. They can be rearranged in Content Management panel.
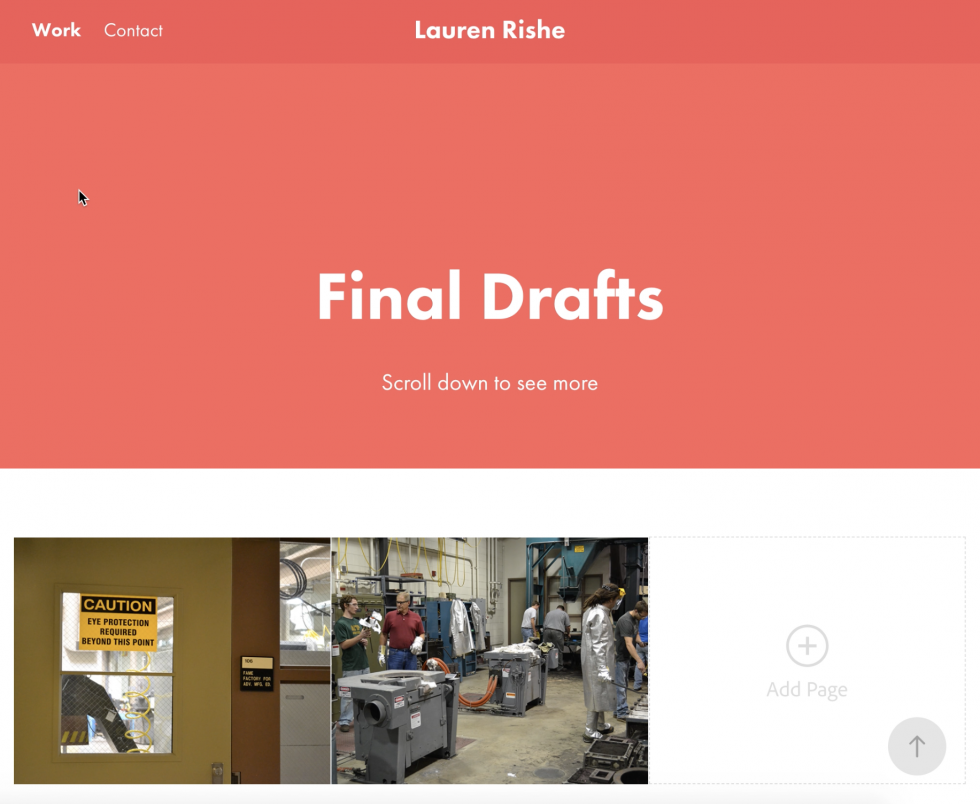
If you create a page without a photo, the page will not have any kind of label until you hover your cursor over it, and you will be prompted to upload a Cover.
NOTE: Portfolio will automatically generate the cover image from the first image you upload if you do so before navigating away from your page for the first time.
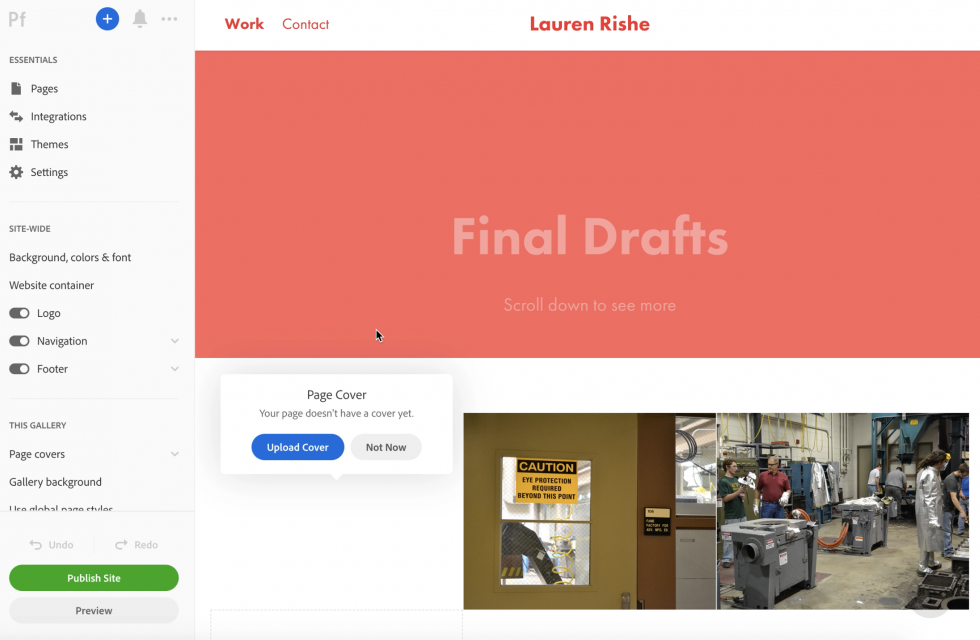

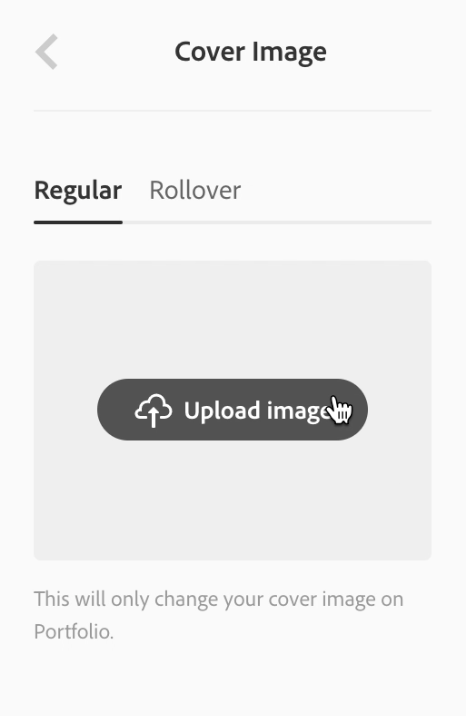
The Cover image settings will open on the left-hand sidebar.
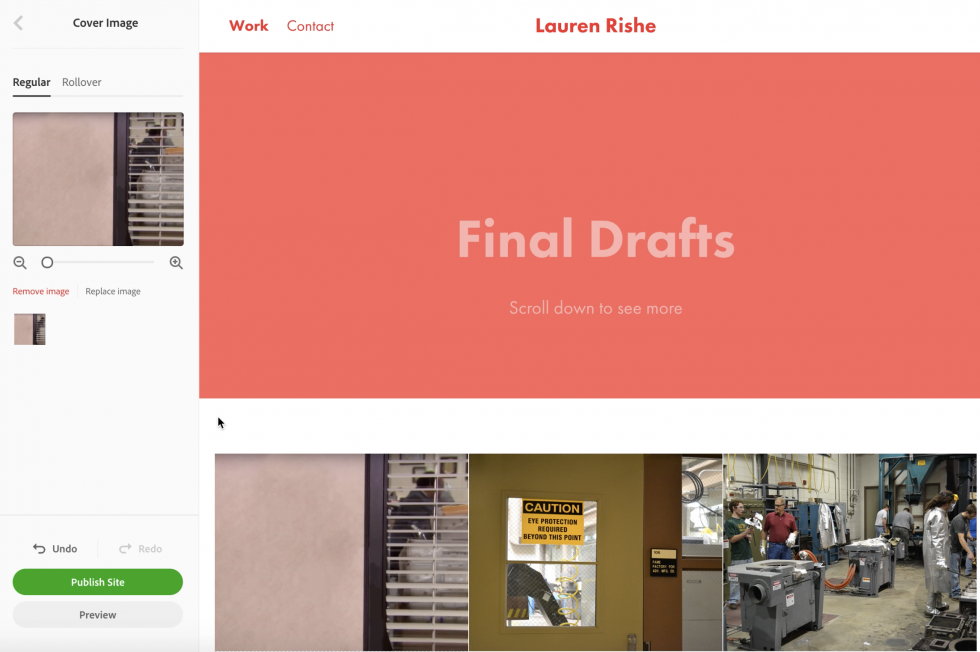
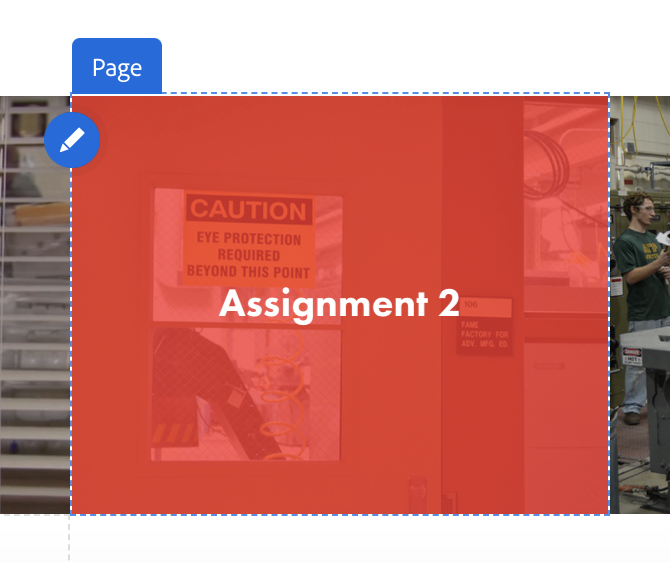
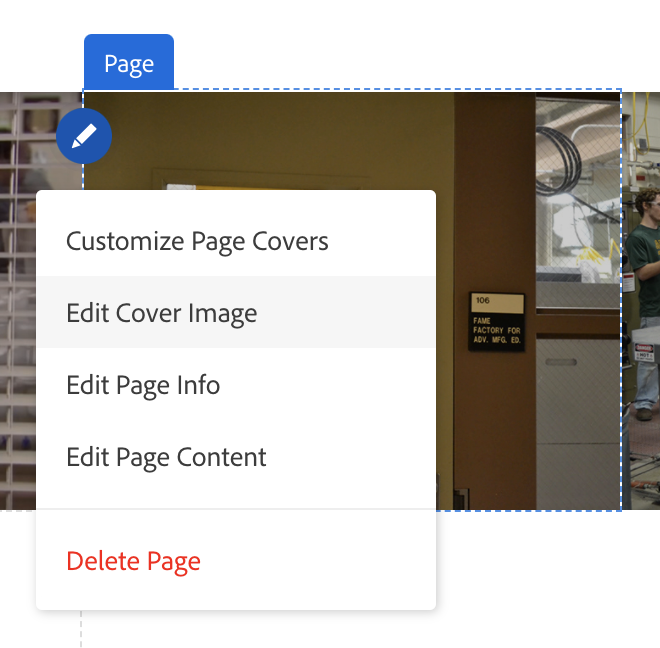
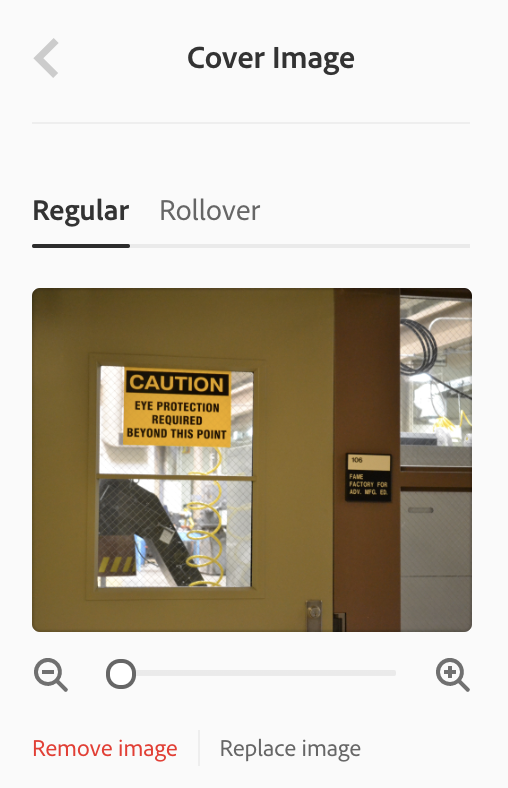

If you don’t want any/all cover images you can adjust the overlay (you’ll see this when you hover over a page’s cover) in the (This or All) Gallery > Page Covers > Cover Images settings.